This article brings the basic photography concepts into practice. It offers general guidelines on how to prepare your camera for shooting, how to approach some common situations, and what to keep in mind.
Of course there is no universal recipe for any situation, otherwise photo cameras would have had only one button. You certainly need to evaluate every situation individually, and possibly try several camera configurations to achieve the best results. How to do this, where to start from?
I would advice to start by answering the following question: what is more important for you, aperture of shutter speed? As you remember from the basic photography concepts, different combinations of their values can bring the same amount of light to the camera sensor. Both have important side-effects, and that’s what determines your preferred combination. Aperture controls the depth of field (how many objects at different distances are in focus), and shutter speed controls the motion blur (if the object is sharp or blurred due to motion). I would offer the following approach: if you are shooting fast moving objects, give preference to shutter speed, because a blurred object which is supposed to be sharp hopelessly destroys your photograph. When shooting more static objects, giving preference to aperture will offer you a greater creative freedom with the depth of field control. Myself, I give preference to aperture by default, because I mostly shoot relatively static scenes such as landscapes and lazy people. Well, not that lazy: I usually force them to stay still, and doing this long enough can be more difficult than moving. If I ever become a sports photographer, or when I get kids, I will probably switch to the shutter speed priority as the default.
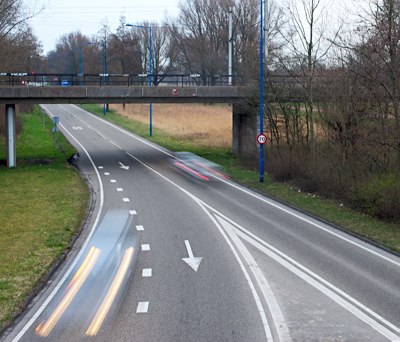
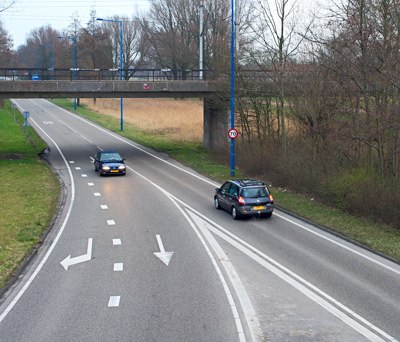
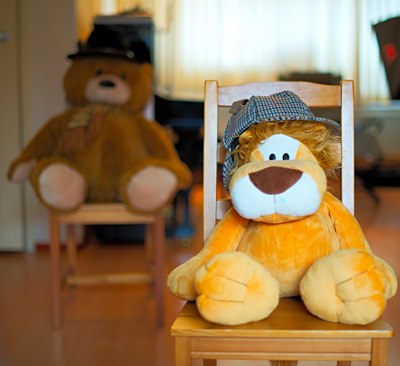
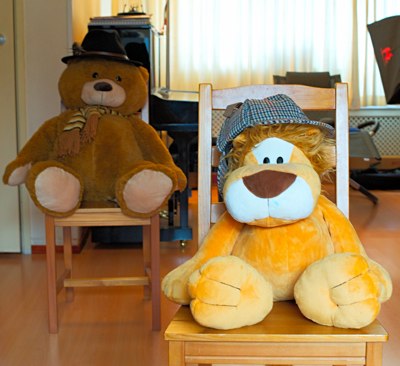
Photo cameras offer aperture- and shutter-priority shooting modes exactly for this purpose. The aperture-priority mode is denoted by A on Nikon cameras (on DSLRs and probably also on point-and-shoot cameras), and by Av on Canon cameras. The shutter-priority mode is denoted by S on Nikon cameras, and by Tv on Canon cameras. On entry-level Nikon DSLRs, you choose the shooting mode using the mode dial on the top of the camera. On high-end Nikon DSLRs, there is a MODE button instead. On most Canon DSLRs it is on the mode dial. On point-and-shoot cameras you can also often find these controls, but they are most probably only available in menus.
You choose between the aperture- and shutter-priority mode and set the desired value. The camera uses its light sensor to obtain the other value providing the proper exposure. You look at this value and decide if it satisfies you. If not, adjust either your original setting, or the ISO sensitivity, until both aperture and shutter speed values look good.
For example, let’s say I am shooting a landscape. I wish to have as much as possible in focus, thus I choose the aperture-priority mode, with the aperture value of F8. From experience I know that F8 is a good value to start from: this aperture is small enough to provide a large depth of field, but quite far from the minimum supported by most lenses. Using the extreme values (minimum and maximum lens apertures) is discouraged because the image quality usually suffers at the far ends. You are often forced to use the maximum aperture in dark situations, but you can usually avoid the minimum aperture. The camera evaluates the light and offers the shutter speed of 1/20 of a second. If I am shooting hand-held (don’t have a tripod), I become worried: experience tells me that 1/20 is quite a slow shutter speed, it can happen that shaking hands will kill the sharpness. I either increase the aperture a bit, or increase the ISO sensitivity, or both. Until I get satisfying values for all settings.
Let me give you several aperture and shutter speed values to start with. These very rough values are based on my own experience, and the assumption that you are using a standard focal range lens around 50mm. The values depend on shooting conditions and equipment, and other photographers might disagree with them. I am giving them just to make sure you have something to begin with. For aperture, start with F8 if you want a great depth of field, or with the next to the maximum supported by the lens (such as F3.2) if you prefer a shallow depth of field. For shutter speed consider the following values:
- 1/10 of a second and below – extremely slow shutter speed. Will only work with completely static scenes. Don’t shoot hand-held, the shaking hands will ruin the shot. Put the camera on something steady, such as a tripod.
- 1/10 – 1/30 of a second – very slow shutter speed. No chance to get a sharp moving object, unless you use techniques like panning (tracking the object with the camera). Preferably avoid shooting hand-held.
- 1/30-1/60 of a second – still quite slow. However, you might be able to get a sharp hand-held shot. You might even get quite a sharp moving object, if it is slow enough. With such shutter speeds I would advice to take many redundant shots: chances are 1 out of 10 will be reasonably sharp.
- 1/60-1/100 of a second – quite good chance to get a sharp hand-held shot, especially if you make enough redundant copies. Walking people, for example, have good chances to appear sharp.
- 1/100 of a second – unless the object is very fast, or I am using a very long lens, I am quite sure the photo will be sharp. Thus, I make only a couple of redundant shots.
- 1/200 and above – usually necessary only with very fast moving subjects, or when shooting with very long lenses.
Above I often speak about long lenses. With long lenses (strong optical zoom) the hand shake affects the image much more than with short lenses. There is an old rule of thumb measuring how fast the shutter speed should be to compensate for the hand shake depending on the used lens: divide 1 by the lens’ focal length, and that is the desired shutter speed. For example, it is 1/50 for a 50mm lens, and 1/200 for a 200mm lens.
Note that I never wrote “don’t make redundant shots”, only advised to make more of them in some cases. This is because there are too many possible reasons able to ruin your shot, not only wrong exposure settings. For example, the person closes eyes in a portrait, a huge fly appears on the nose, an ugly robot appears in the middle of your beautiful natural landscape, whatever… If you want to be sure to get a nice shot, always make a couple of redundant copies! And if you shoot in difficult conditions, make many more copies of every shot! Also make more duplicates if shooting several people at once: every person adds enormous chance to have closed eyes, strange grimace, etc.
You have taken a shot, what to do now? How to check if it is good? Obviously, by looking at it on the camera’s preview screen. However, don’t forget that these screens are a way too small to really see the image. Don’t try to make the right impression just by looking at the complete photo. Except for the general composition, there are usually two aspects to check: if the main subject is sharp enough, and the overall exposure. To check the main subject sharpness, zoom it up to about 100% (see your camera manual for how to do that). For example, in a portrait, zoom into the eye you focused on. Being the most important subject part, it should of course be perfectly sharp. To check the exposure, the image histogram is your best friend. Read what the image histogram is, and you will get a great exposure assessment tool.
