This article covers one of the most challenging photography situations: low light photography. It can be night photography or any other situation with limited light available, such as indoor in a poorly lit room. Think about concert photography, wedding photography in a church etc.
I decided to classify low light photography into two general situations, and will address them separately, because they require very different approaches. The first is the favorable (easy) situation: you photograph still or mostly still objects, such as landscapes, and you have plenty of time and equipment. This is the classic night photography situation, and I will mostly repeat advices that you can find in any low light photography guide. The second situation is much more challenging: you have to photograph moving objects, such as people (event photography), with a hand-held camera. I have a lot of experience with this situation, mostly photographing PhD defenses and other events, and I believe I can give some useful advices from my own experience which I missed a lot when learning myself.
Classic night photography
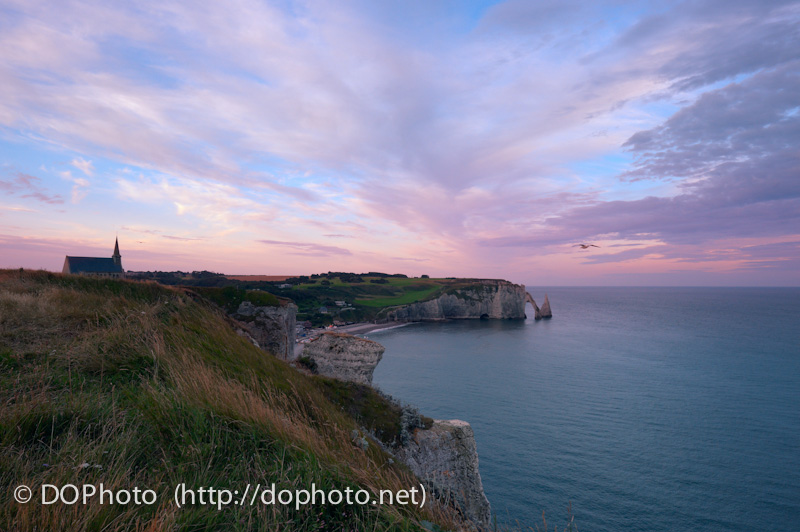
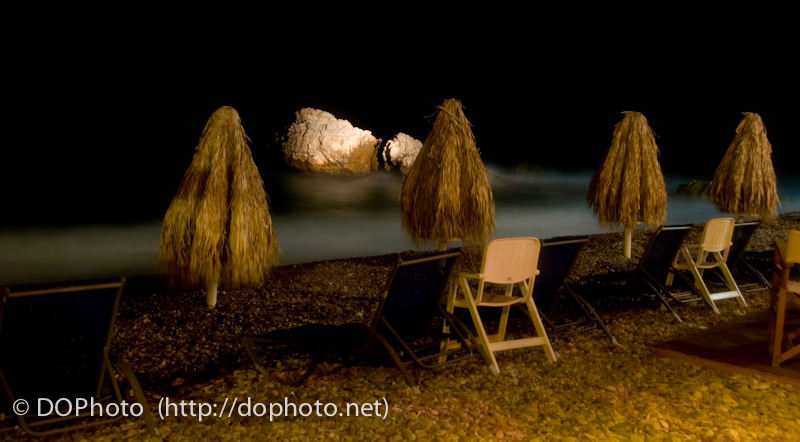
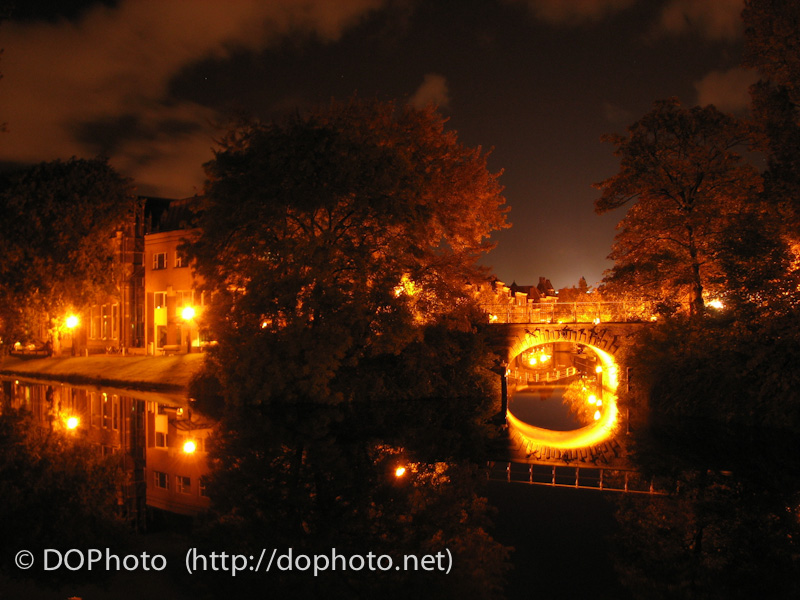
This is relatively easy as long as you do not need to capture anything moving which must be sharp. The “must be sharp” requirement is very important. You often have something moving when doing landscape photography, but it does not need to be sharp. Think about moving cars in a night cityscape. You might not mind them to have motion blur to emphasize the movement. With very long exposures, you might even capture the car lights without the car itself, producing mysterious lighting! Or waterfall at sunset: long exposure will give a nice mysterious flowing look to the water. If you do need sharp moving objects at low light situations, this is covered in the next section.
The recipe is quite well defined. First of all, use a good tripod. I bought one of the cheapest professional tripods, for around 150 Euro. Because it is cheap, it is very heavy (does not have expensive light materials). Because it is heavy, it is more stable, and that is exactly what I want :-) If I need a light and portable equipment, I take a monopod instead, or nothing. I also really like to have a ball-head on the tripod, it gives you the full flexibility. If you don’t have a tripod, put your camera on something stable while shooting.
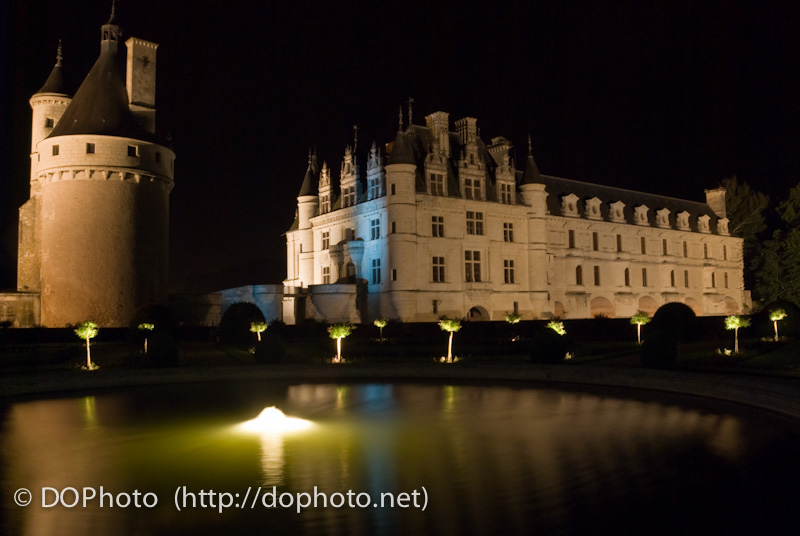
Set your camera to the lowest native ISO speed. For example, for Nikon D80 and D200 this is ISO 100, and for D700 it is ISO 200. Why not more? We will get enough noise by using a long shutter speed, thus I prefer not to multiply this noise with a high ISO.
Use the mirror lock-up mode if your camera supports it. In this mode, the mirror is raised in advance to avoid shaking the camera. The mirror lock-up mode is only available starting from semi-professional Nikon cameras. For example, it is present on Nikon D200, but not on D80. No problems if you don’t have it, it is not such a big deal, I believe. With very long exposures, it is not even relevant.
Use a remote shutter release rather than the on-camera shutter button. Remote releases are quite cheap. If you don’t have one yet, shoot with a timer set to a couple of seconds delay. This will save you from shaking the camera while pressing the on-camera shutter release button, and that can be quite important.
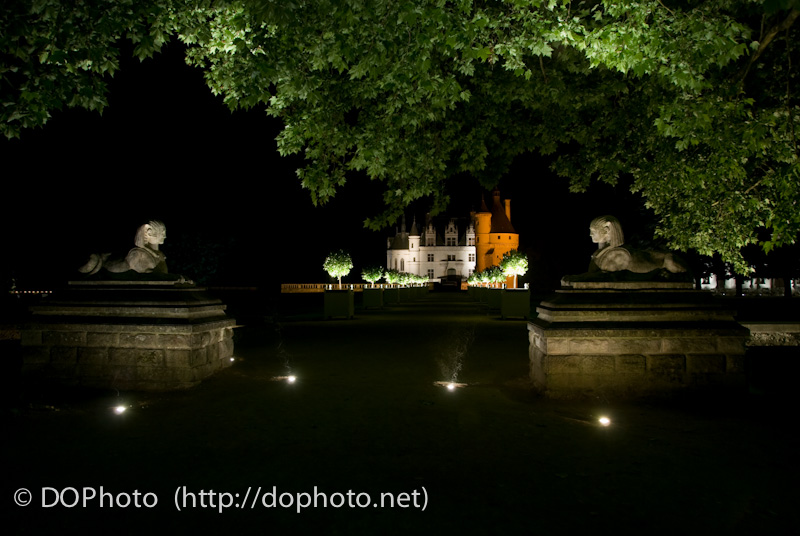
I would in most cases shoot in the aperture priority mode, to get the desired depth of field. It might be a good idea to set a negative exposure compensation, otherwise your night might not look as such. Experiment to find the exposure you like. Don’t forget, however, that in low light situation, it is most likely much easier to darken a photo in post-processing than to lighten it. If you don’t capture details in dark areas, they are lost. Also, strong post-processing lightening reveals a lot of noise and other artifacts. Thus, don’t overdo the negative exposure compensation, keep the dark details.
As usually, shoot in RAW. With low light photography it is even more important than usually, because there is more chance to lose detail and get noise and artifacts. With RAW, you have a much greater dynamic range, capture more information, which you can then use in post-processing.
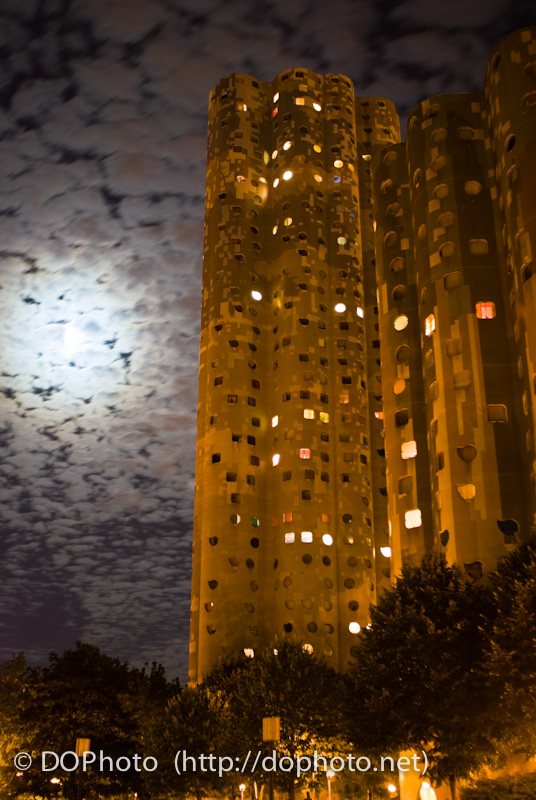
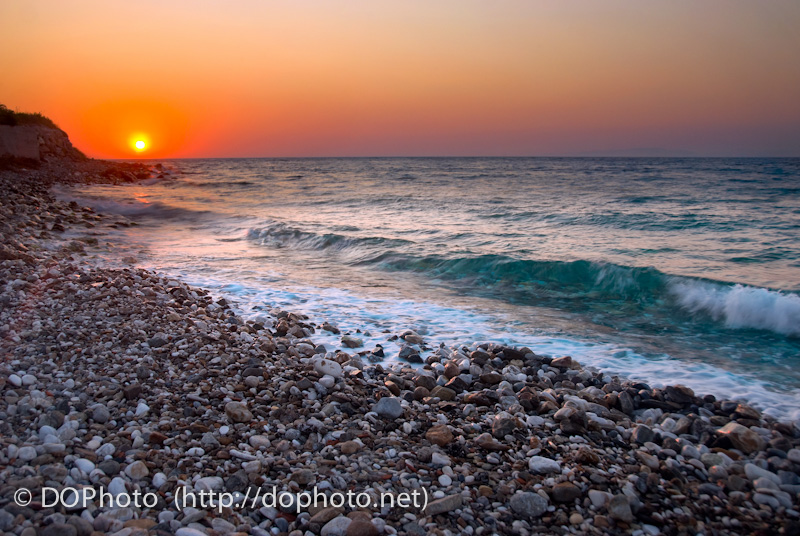
Night photography often presents a serious dynamic range challenge: there is both very bright and very dark illumination. Think about street lights vs. dark corners in night cityscapes, or bright sun vs. very dark land in a sunset scene. As mentioned before, shooting in RAW is a must to have a better chance to capture more dynamic range. Consider also exposure bracketing: taking several shots of the same scene with various exposure settings and merging them later in post-processing (called High Dynamic Range, HDR photography).
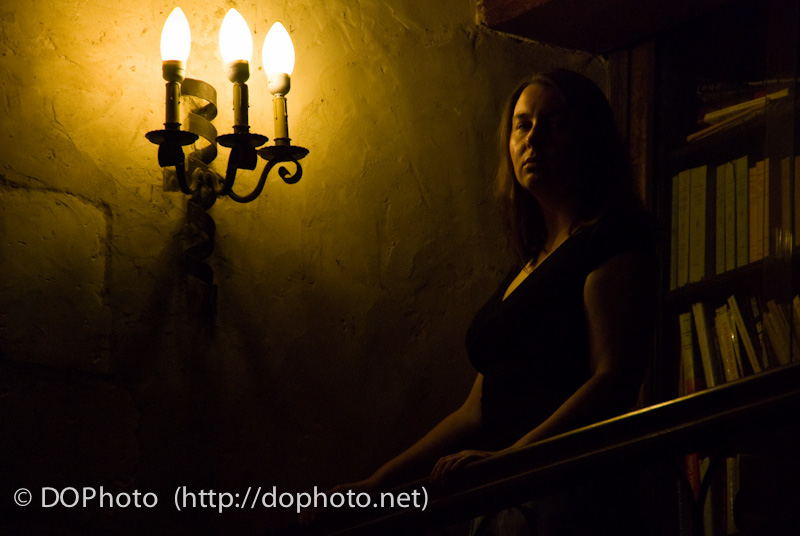
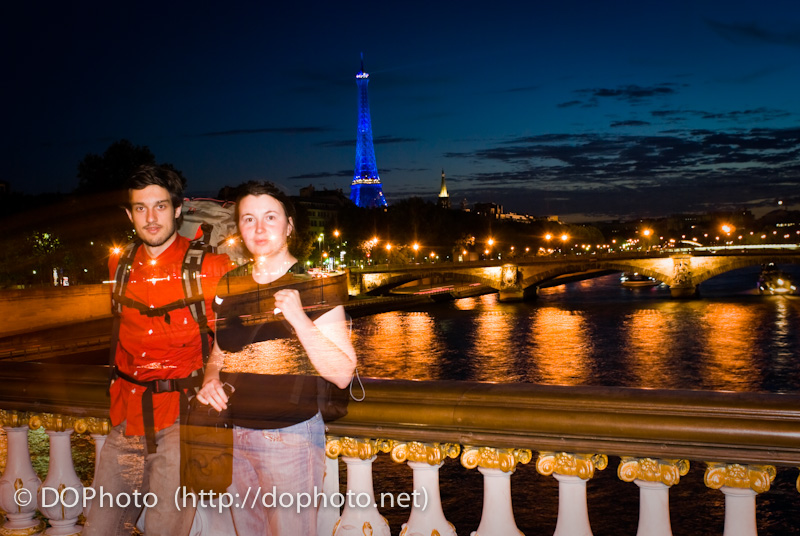
As to the white balance, I would leave it on auto, unless I photograph a particular (small) subject. Not because I believe the auto white balance will produce good results, but because there are most probably too many various illumination types with different color temperatures in a night scene, such as a cityscape. You will most probably need to fix the colors in post-processing anyway. If I photograph a small subject, such as a person, at low light, I would use a gray card to make sure the colors are adjusted to the main focal point (the subject). I would set a manual white balance preset in the camera if I have enough time. In any case, I would make a photo of the subject with a gray card to make sure that if the preset setting fails, I will be able to easily fix the colors in post-processing.
Most challenging low light photography
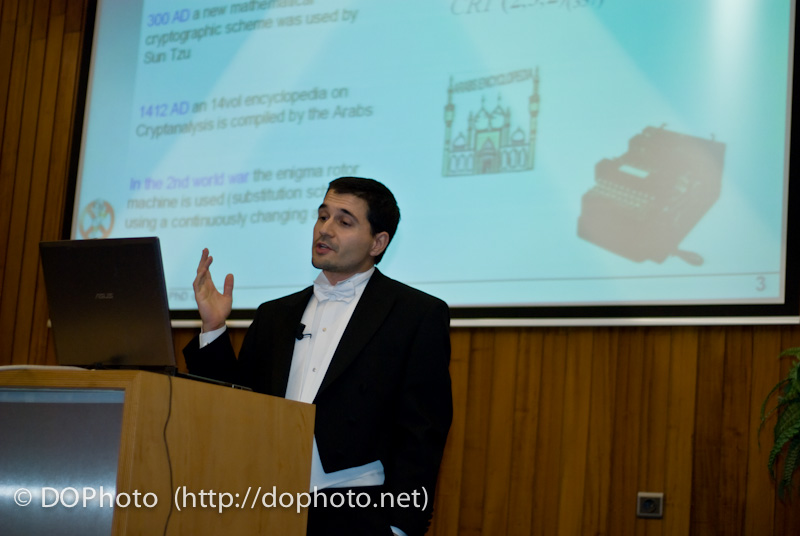
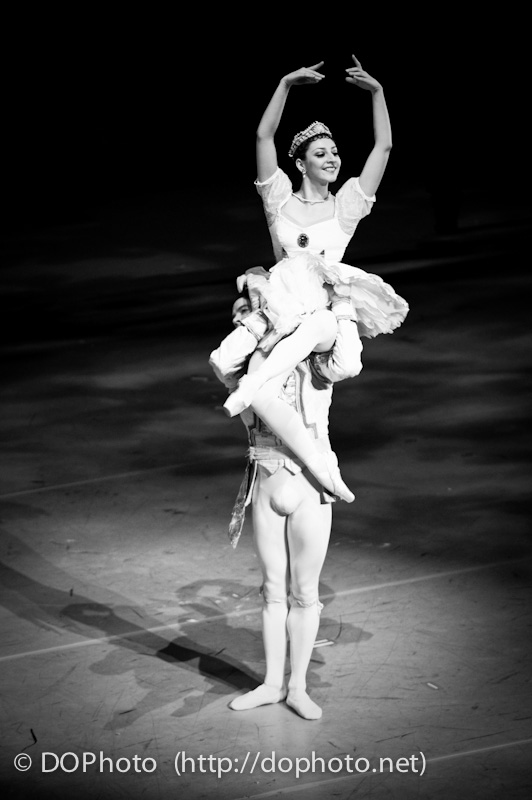
The most challenging low light photography situation appears when you have to shoot moving objects, and they must be sharp. Following the Murphy’s low, these situations are very often aggravated by the need to shoot hand-held, without a tripod or even a monopod, because of timing constraints or something else. Or maybe the object does not move, but you do, and have no time or space to establish a tripod.
In this situation the approach differs a lot from the previous one, because you are forced to reduce the shutter speed as much as possible. Otherwise you will simply not get sharp objects.
This is when high-quality equipment really matters, unlike usually (when it is mostly for convenience). Light sensitive lenses and good camera sensor can make a huge difference. I was blown out when I first tried the full-frame Nikon D700 after the entry-level D80. It just opened a whole new world of low light photography for me. With the D80, I only used ISO higher than 400 as a last resort, and a priory considered those photos as trash candidates. With the D700, I recently made some shots in a cave, hand-held, at ISO 2200, and I am even going to submit them to stocks! I am sure not all of them will be accepted (because of noise, excessive noise reduction etc.), but at least some will be, I expect.
The recipe is the following. Set the maximum ISO you consider feasible for your camera. If you cannot manage with it, increase the ISO even more later. I assume that it is better to get a sharp, but noisy photo, rather than an unsharp image (which is a waste if you need a sharp object). Also, you can fight noise in post-processing, but can do nothing with hopelessly blurred photos. Depending on how dark it is and how fast the objects move, I would start with ISO 400 to 1600 on Nikon D700. I would try hard to avoid going beyond ISO 800 on Nikon D200.
It goes without saying I would use the lightest available lens, most probably Nikon 50mm F1.4 or F1.8, or 85mm F1.8. If I really need a zoom lens… bad luck, I would take the Nikon 35-70mm F2.8 :-)
It would be logical to suggest using the shutter-priority shooting mode. The purpose is to freeze the movement, and the shutter speed controls that, just set it to the minimum affordable… However, I use the aperture priority mode instead, and always keep an eye on the shutter speed chosen by the camera to adjust something if needed, for the following reasons:
- I don’t really want to set the shutter speed to the minimum. Who knows, maybe the lighting conditions will permit to increase it, and I will have more chances to take a sharp photo. This is especially important if the lighting conditions change all the time. Instead of the shutter speed, I set the aperture manually, and the camera automatically chooses the highest possible shutter speed. I just have to make sure it is not too low.
- With low light, in the shutter-priority mode, there is usually no room for the aperture values to choose from. The camera will likely have to use the maximum aperture supported by the lens anyway.
- What happens if the camera is unable to get the required exposure with the configured shutter speed? I am not even sure. Probably it can be configured, but I am too lazy to look for the settings. Will it refuse to take a picture? I don’t want to miss it! Will it underexpose? Anyway, I prefer to decide myself what to do.
- If there is enough light, I will be able to control the depth of field with the aperture setting, which is always great. I will also be able to resolve myself the dilemma of what is more important: better chances to get sharp images (increased shutter speed) or the depth of field control.
Thus, I shoot in the aperture priority mode. First I set aperture to the maximum (the minimum F number) and see what shutter speed the camera suggests. If it is high enough, I might even increase aperture if a wider depth of field is desirable. If it is sufficient, great. If not, I look at possible solutions.
What is the sufficient shutter speed? That depends on how fast the subjects move. For event photography (not sport), where people move relatively slowly, it can be quite low. I would say, from 1/50 to 1/100 of a second. 1/100 usually gives good chances to get reasonably sharp subjects. The lower the shutter speed gets, the more blurred photos you will have. To compensate, shoot more duplicates of every scene to increase the chance to get one of them sharp. I usually do at least 3 duplicates per shot, even with good lighting conditions, just to be sure I don’t miss the shot for whatever reason. Also note that people don’t constantly move, they sometimes stand still for a while, try to catch this moment.
With low light photography, you will often not get enough shutter speed. What to do in this case? The obvious solution is to increase the ISO speed. However, you cannot do it infinitely. There is another, not so obvious solution, which I use all the time. Set a negative exposure compensation. This lets the camera choose higher shutter speeds. It is relatively easy to lighten a photo in post-processing, but practically impossible to fix a strongly blurred image. Moreover, many people say Nikon cameras tend to slightly overexpose photos without compensation. That’s definitely not what you want to do in low light situation. In fact, when I anticipate that the shutter speed will be an issue, I set the exposure compensation of -0.3 EV from the beginning. If needed, I increase it to up to -1.0 EV, in hopeless cases can go even further.
To conclude, let’s try to outline the algorithm for challenging low light photography (hand-held and/or with moving subjects):
- Adjust the ISO speed. Start with the maximum you are comfortable with, say ISO 400.
- Set a negative exposure compensation. Start with -0.3 EV.
- Set the aperture priority shooting mode. Start with the maximum aperture (the minimum F number), and only decrease it if the shutter speed is fast enough.
- Evaluate the shutter speed proposed by the camera. If not enough, go to 1 and readjust. If more than enough, consider increasing the depth of field by decreasing the aperture.
- When the shutter speed satisfies you, shoot a number of duplicates per shot, at least 3. Try to catch the subject while it freezes. Keep the camera as stable as possible: lean your body on a wall, put the camera or your elbows on something stable (a table, your knees in the worst case).
Using flash

I did not mention flash so far. For some people, flash is associated with low light photography, but not for me. First, we spoke about general photography of subjects such as landscapes and cityscapes, and flash is absolutely useless in that case. It can only be useful when shooting a relatively small subject, and you must really know what you are doing to capture also some details of the dark background. When I see a person with an expensive DSLR camera photographing landscape with a flash, I feel sorry for this person for wasting money on the good camera… Second, even if the subject (such as a person) is close and reachable for the flash, be careful with it! The flash can give great results in skillful hands, and can ruin a good photo when used carelessly. Third, flash is useful far not only for low light photography. In fact, I probably use it more often with a strong sun light than at night. See more details in Flash photography (using camera flash).